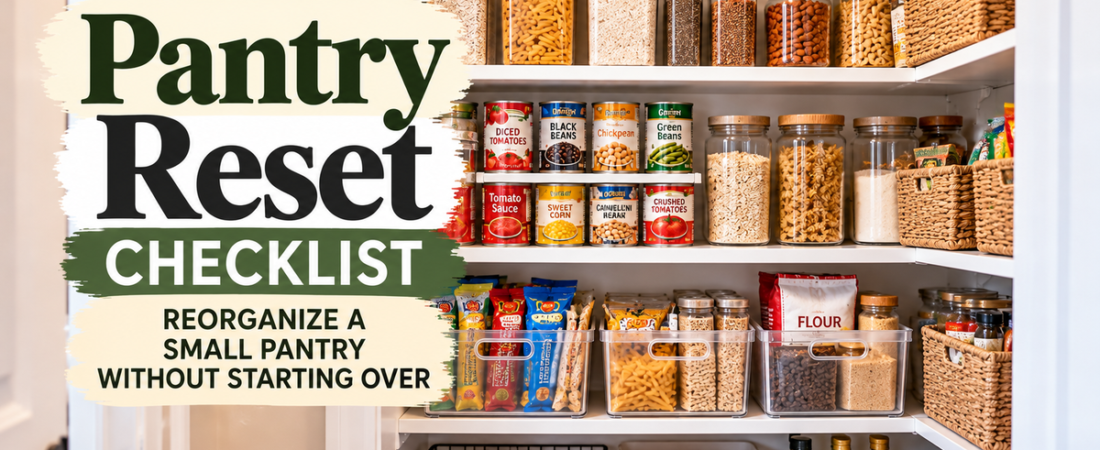
A pantry rarely becomes disorganized overnight.
Usually, it drifts.
Snacks move into the baking section. New groceries get pushed in front of older food. Half-empty packages multiply. Backstock ends up wherever it fits, and containers that once had a clear purpose slowly become catch-all bins.
Before long, the pantry still technically has an organization system, but nobody is following it.
That is where a pantry reset helps.
Instead of emptying every shelf and starting over, a reset lets you work through the pantry one section at a time, remove what no longer belongs, bring categories back together, and make the space functional again.
For a small pantry, this approach is especially useful because you probably do not have extra counter or floor space for a full pantry overhaul anyway.
What Is a Pantry Reset?
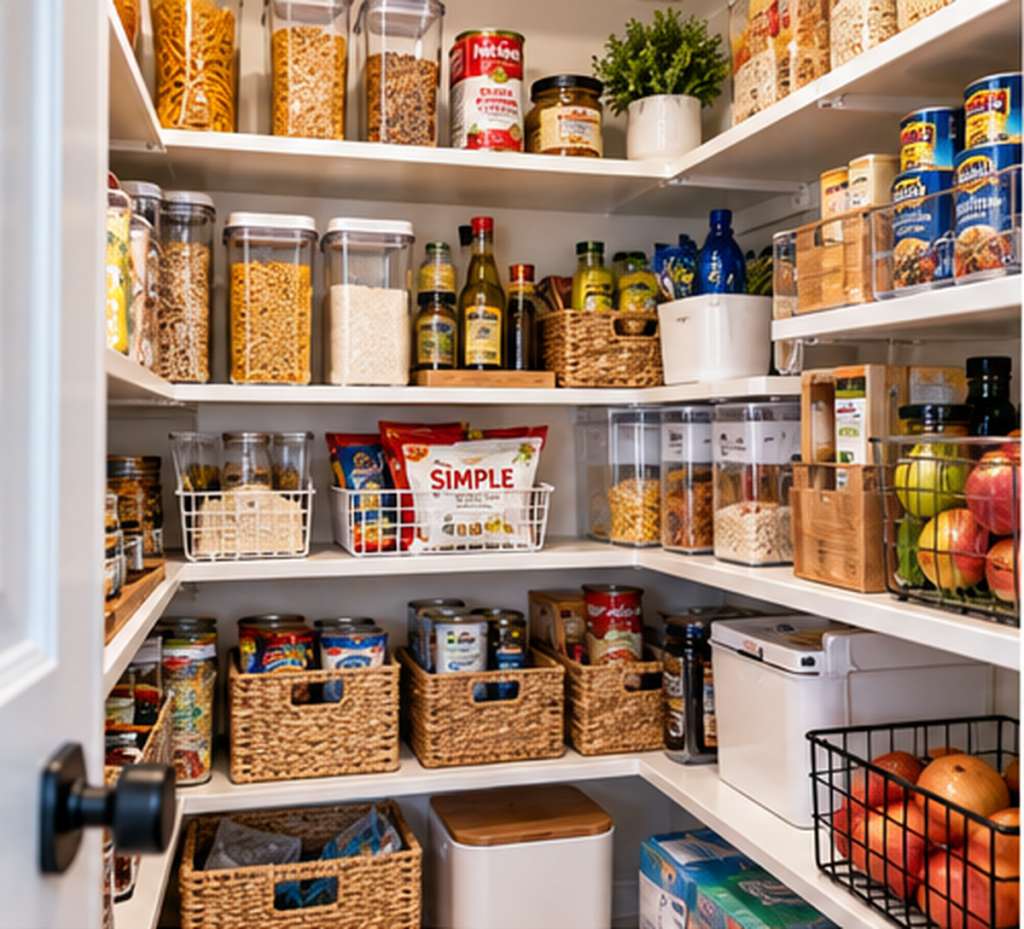
A pantry reset is a quick organization routine for a pantry that already has some kind of system but has become messy over time.
You are not trying to redesign the entire space.
You are simply:
- Removing trash and expired food
- Combining duplicates
- Returning categories to their zones
- Correcting overflowing bins
- Moving older food forward
- Checking what you actually have
- Making space for future groceries
A good reset should leave the pantry easier to use without requiring a shopping trip for twenty new containers.
If your pantry does not have a workable system at all, start with my small pantry organization ideas instead.
Do Not Empty the Entire Pantry
This is the biggest difference between a pantry reset and a complete pantry makeover.
Do not pull everything out at once.
That creates:
- A huge mess
- Decision fatigue
- Too many categories to manage at once
- Pressure to finish the entire project in one sitting
Instead, work one shelf or zone at a time.
Finish that section before moving to the next one.
That keeps the project manageable and makes it easy to stop if you run out of time.
1. Remove Obvious Trash First
Start with the easiest decisions.
Look for:
- Empty boxes
- Empty bags
- Torn packaging
- Expired food
- Stale snacks
- Products nobody will eat
- Broken containers
Get those items out of the pantry immediately.
Removing obvious waste often creates more space than expected.
Do not reorganize anything yet.
Just eliminate the things that clearly do not need to stay.
2. Check Open Packages
Next, look for open bags and boxes.
You may find:
- Three bags of crackers
- Two open boxes of pasta
- Multiple cereal bags
- Half-used baking ingredients
- Several snack packages containing only a few pieces
Combine duplicates when it is safe and practical.
This reduces packaging clutter and gives you a more accurate idea of how much food you actually have.
Avoid combining products if doing so would cause you to lose important expiration or preparation information.
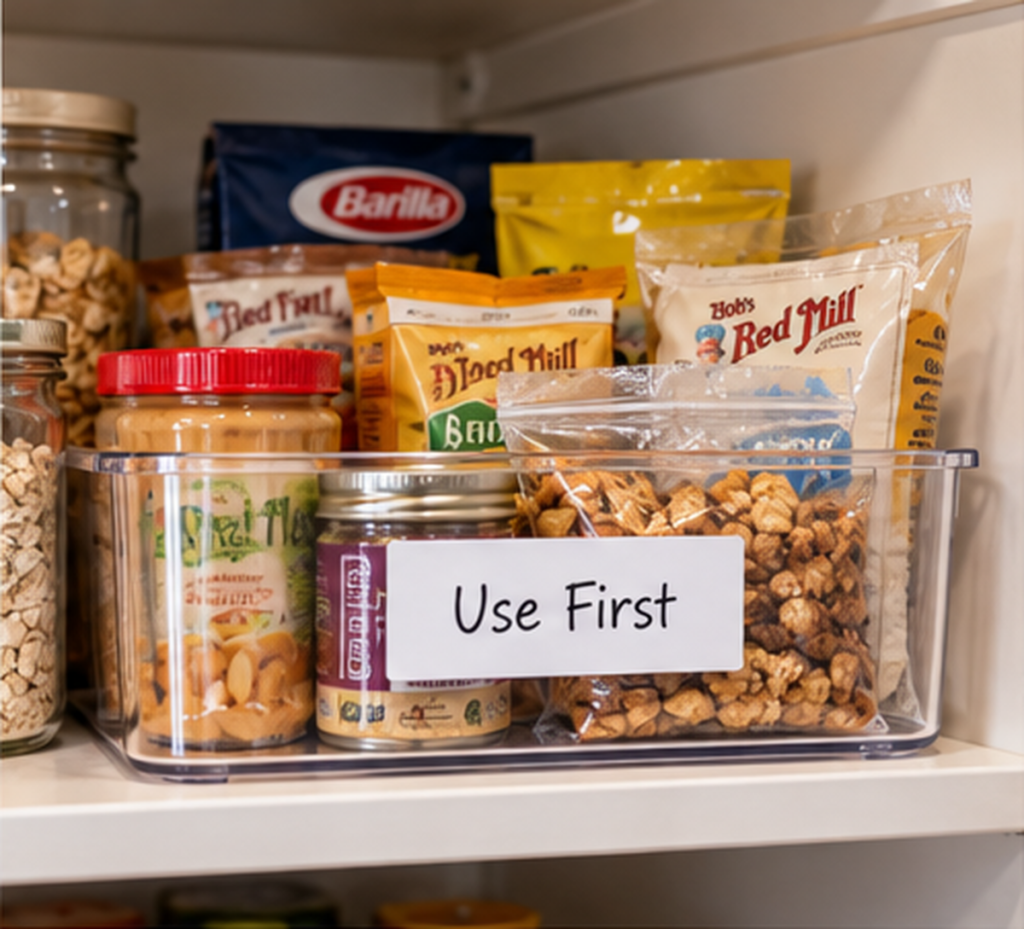
3. Identify Foods to Use First
Create a temporary use first section.
Good candidates include:
- Open snack packages
- Older canned goods
- Food approaching its expiration date
- Nearly empty boxes
- Ingredients left from previous recipes
- Older backstock
Keep these items easy to see.
You do not necessarily need a dedicated container.
One small shelf section or basket can work.
The important part is making older food visible before you automatically open something new.
4. Reset One Shelf at a Time
Choose one shelf and remove only the items from that shelf.
Then:
- Wipe the surface if needed.
- Group similar items.
- Remove duplicates.
- Return each category to its zone.
- Leave some open space.
Then move to the next shelf.
This keeps the reset controlled.
It also helps you see whether the problem is the organization system itself or simply that items have drifted out of place.
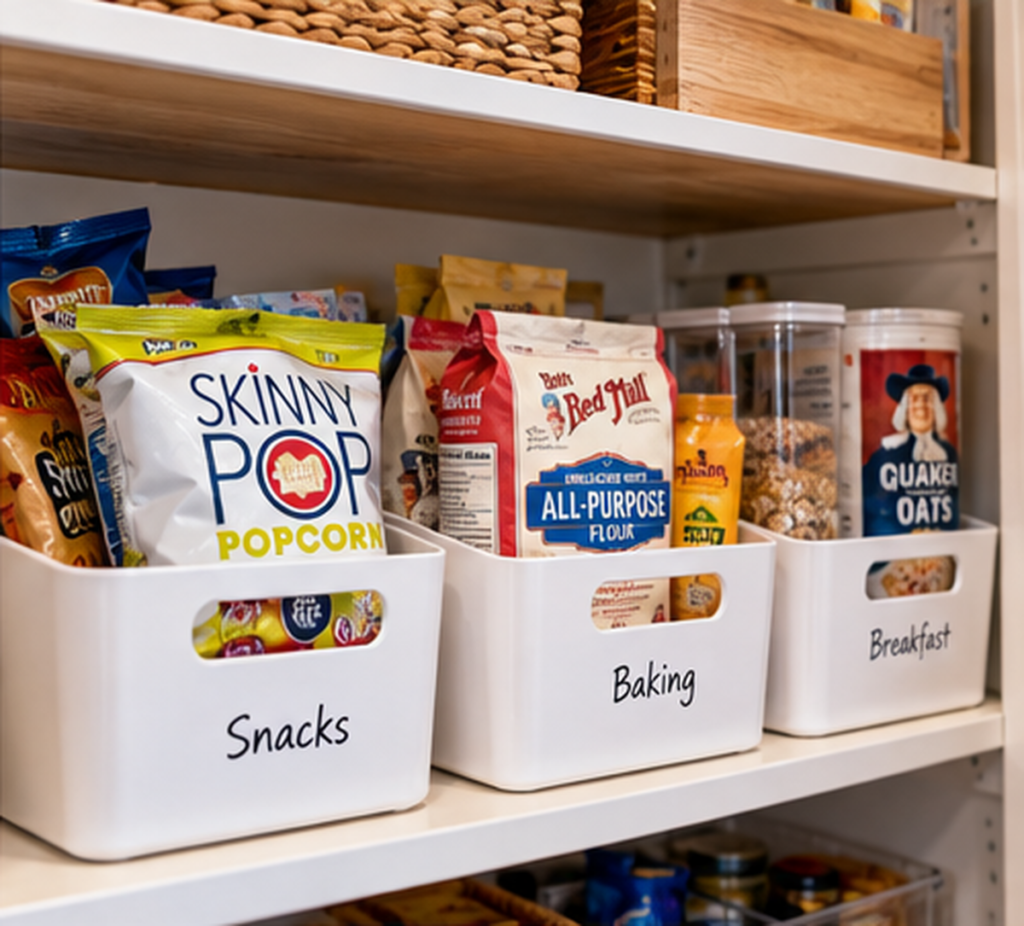
5. Bring Snacks Back Together
Snacks are one of the fastest pantry categories to spread.
You may find snack foods in:
- Baskets
- Shelves
- Backstock
- Lunch supplies
- Random corners
Bring them back into one defined area.
Depending on your pantry, that might mean:
- One basket
- One shelf
- Two shallow bins
- A lower kid-accessible zone
Keep the category broad enough to maintain.
You probably do not need separate containers for chips, crackers, granola bars, cookies, and every other snack unless your pantry is large enough to support that system.
Handled pantry storage bins → Buy on Amazon
6. Reset the Baking Zone
Baking ingredients are easy to scatter because they come in different package sizes.
Bring together items such as:
- Flour
- Sugar
- Baking soda
- Baking powder
- Chocolate chips
- Sprinkles
- Extracts
- Cake mixes
- Muffin mixes
Check for duplicates before buying more.
If you bake infrequently, keep the zone compact.
There is no reason to dedicate an entire prime pantry shelf to something you use twice a month.
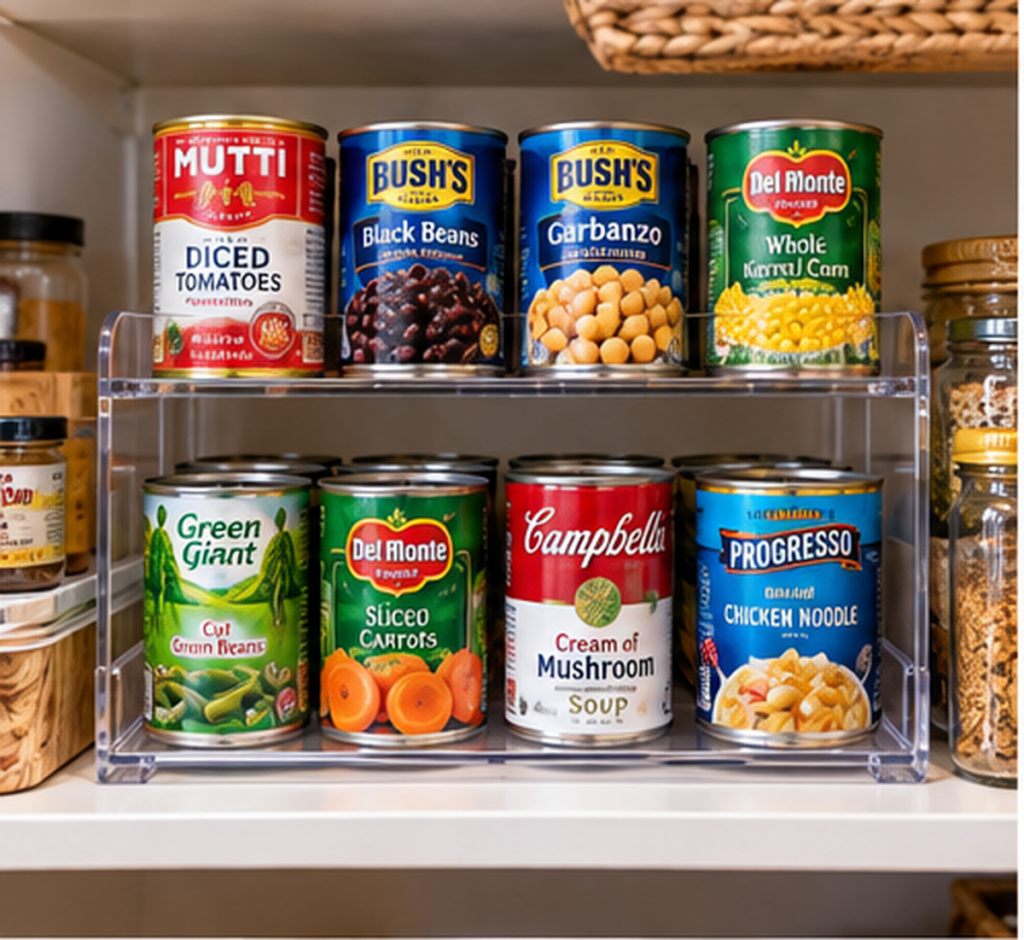
7. Group Cans and Jars
Canned foods become difficult to manage when they are pushed several rows deep.
Group similar items together:
- Vegetables
- Beans
- Soup
- Tomatoes
- Sauces
- Fruit
If your shelves are deep, a shelf riser can make the back row easier to see.
Pantry shelf riser → Buy on Amazon
Avoid stacking cans so high that removing one causes everything else to fall over.
8. Reset the Breakfast Zone
Bring breakfast foods back into one area.
That might include:
- Cereal
- Oatmeal
- Pancake mix
- Nut butter
- Syrup
- Breakfast bars
Keep frequently used foods where they are easy to reach.
If breakfast happens every morning, this category deserves better access than something you use once a month.
9. Deal With Backstock
Backstock is useful until it begins taking over the pantry.
Check your extras:
- Pasta
- Canned goods
- Snacks
- Drinks
- Baking ingredients
- Condiments
Ask whether you realistically need every duplicate.
Then keep backstock in one defined zone instead of spreading it throughout the pantry.
This makes it easier to check what you already own before shopping.
10. Correct Bin Creep
Bins often begin with a clear purpose.
Then slowly, unrelated items start appearing inside them.
A snack bin might contain:
- Granola bars
- Crackers
- Pasta
- Batteries
- A random sauce packet
That is bin creep.
During your reset, remove anything that does not belong in the category and return it to the correct zone.
Do not solve every stray item by creating another bin.
Sometimes the answer is simply putting it back where it belongs.
11. Check Whether Your Bins Are Too Big
Large bins look convenient, but they can waste space in a small pantry.
A bin may be too large if:
- It is usually half empty
- Small packages disappear inside
- You have to pull everything out to find something
- It wastes shelf width
- It blocks items behind it
Use containers that fit the amount of food you normally store.
My storage bin size guide can help if your current containers are working against the space.
12. Use Handled Bins on Deep Shelves
Deep pantry shelves can be difficult because food disappears toward the back.
Handled bins let you pull a category forward instead of reaching around everything.
They work particularly well for:
- Snacks
- Baking ingredients
- Breakfast foods
- Packets
- Backstock
Choose bins that are shorter than the full shelf depth when possible.
You want them to pull out easily without becoming heavy drawers full of food.
Deep pantry pull-out bins → Buy on Amazon
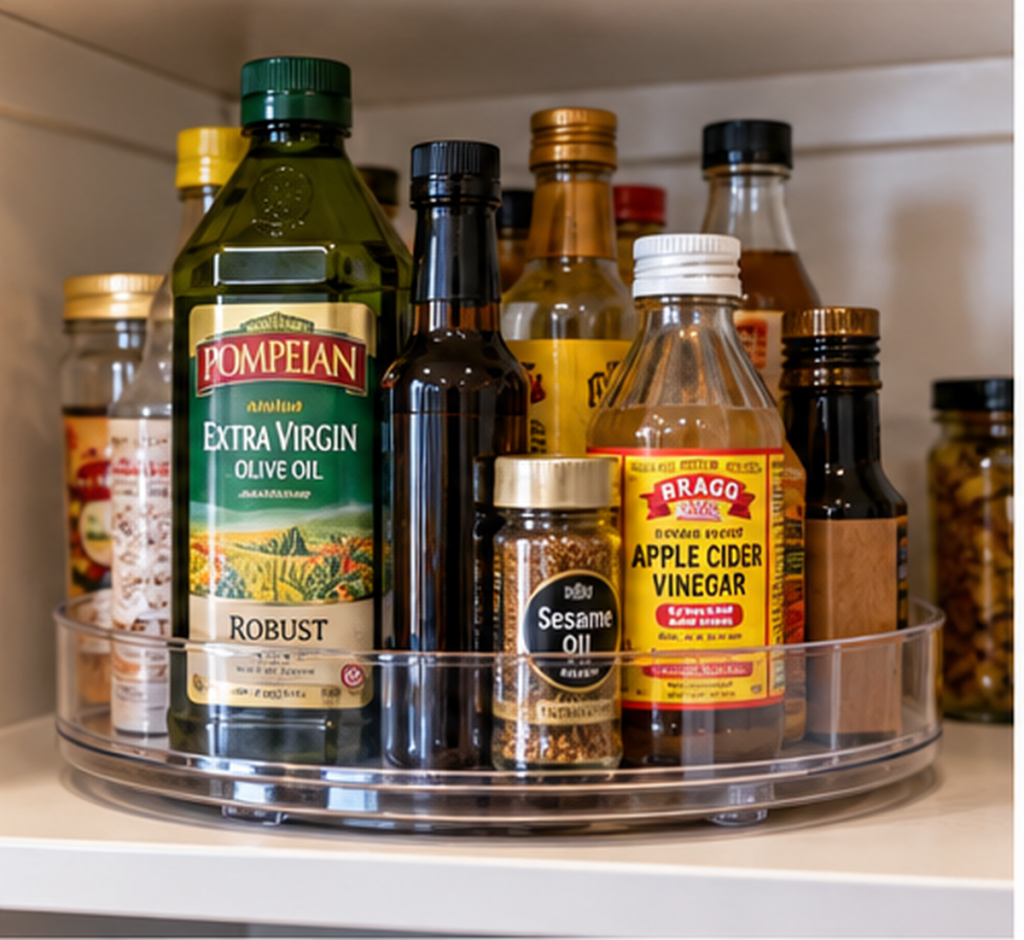
13. Use a Turntable for Bottles and Jars
A turntable can work well for small bottles that otherwise disappear behind each other.
Good candidates include:
- Oils
- Vinegars
- Sauces
- Condiments
- Small jars
It works best when every item on the turntable is roughly the same category.
Avoid using a turntable as a miscellaneous landing zone.
Pantry turntable or lazy Susan → Buy on Amazon
14. Fix Deep Shelf Problems Instead of Adding More Stuff
If your pantry shelves are very deep, organization products alone may not solve the problem.
Common issues include:
- Multiple rows of food
- Forgotten items in the back
- Difficult reach
- Hidden duplicates
Use solutions that improve access rather than simply adding more containers.
That may include:
- Pull-out bins
- Shelf risers
- Turntables
- Shorter categories
- Keeping backstock toward the rear
Pull-out pantry organizer → Buy on Amazon
For more specific strategies, see my guide to organizing deep pantry shelves without wasting space.
15. Measure Before Replacing Pantry Organizers
A reset may reveal that one or two organizers genuinely are not working.
If you decide to replace them, measure first.
Check:
- Shelf width
- Shelf depth
- Vertical clearance
- Door clearance
- Container handle depth
Do not assume a product labeled “pantry organizer” will fit your pantry.
My guide to measuring for storage organizers walks through the measurements that actually matter.
16. Do Not Automatically Decant Everything
Decanting can make certain pantry categories easier to use.
It works well for things such as:
- Flour
- Sugar
- Rice
- Pasta
- Oats
But transferring every food into a matching container can create unnecessary work.
Original packaging often provides:
- Cooking instructions
- Nutrition information
- Expiration dates
- Product identification
Use containers when they improve function.
Do not create an entire maintenance routine just to make the pantry look prettier.
17. Keep Small Packets Contained
Small packets become chaotic quickly.
Examples include:
- Taco seasoning
- Drink mixes
- Sauce packets
- Instant oatmeal
- Soup packets
- Baking mixes
Use one shallow basket or small bin to keep these together.
Avoid using a large deep bin where small packets disappear underneath each other.
18. Give Frequently Used Foods the Best Real Estate
Prime pantry space should go to the food you actually use.
Keep everyday categories:
- At eye level
- Near the front
- Easy to grab
Less-used items can go higher or farther back.
Do not organize based on what looks symmetrical.
Organize based on your actual habits.
19. Move Heavy Items Lower
Heavy pantry items are usually easier and safer to store lower.
Examples include:
- Large containers
- Drinks
- Bulk cans
- Heavy jars
- Appliances
Keep lighter categories higher.
This makes the pantry easier to use and reduces the risk of something heavy falling from an upper shelf.
20. Leave Space for Grocery Day
Do not pack every shelf until it is completely full.
Your pantry needs some flexibility.
Leave room for:
- New groceries
- Temporary backstock
- Large packages
- Seasonal ingredients
If grocery day means stacking food on the floor because every shelf is already packed, the pantry is probably storing too much.
Empty space is useful storage capacity.
21. Make a Quick Inventory
Once everything is grouped again, check what you have.
You do not need a detailed spreadsheet.
Simply note obvious needs such as:
- Pasta
- Rice
- Cereal
- Snacks
- Canned tomatoes
- Baking supplies
Also notice what you have too much of.
This can prevent unnecessary duplicate purchases.
22. Do Not Buy Organizers During the Reset
This is important.
Do not immediately order new bins every time something looks messy.
Finish the reset first.
Then ask:
- Is the category still difficult to access?
- Is the current bin actually the wrong size?
- Would a shelf riser improve visibility?
- Would a turntable genuinely help?
- Am I trying to organize more food than the pantry should hold?
Sometimes the best organization product is simply less inventory.
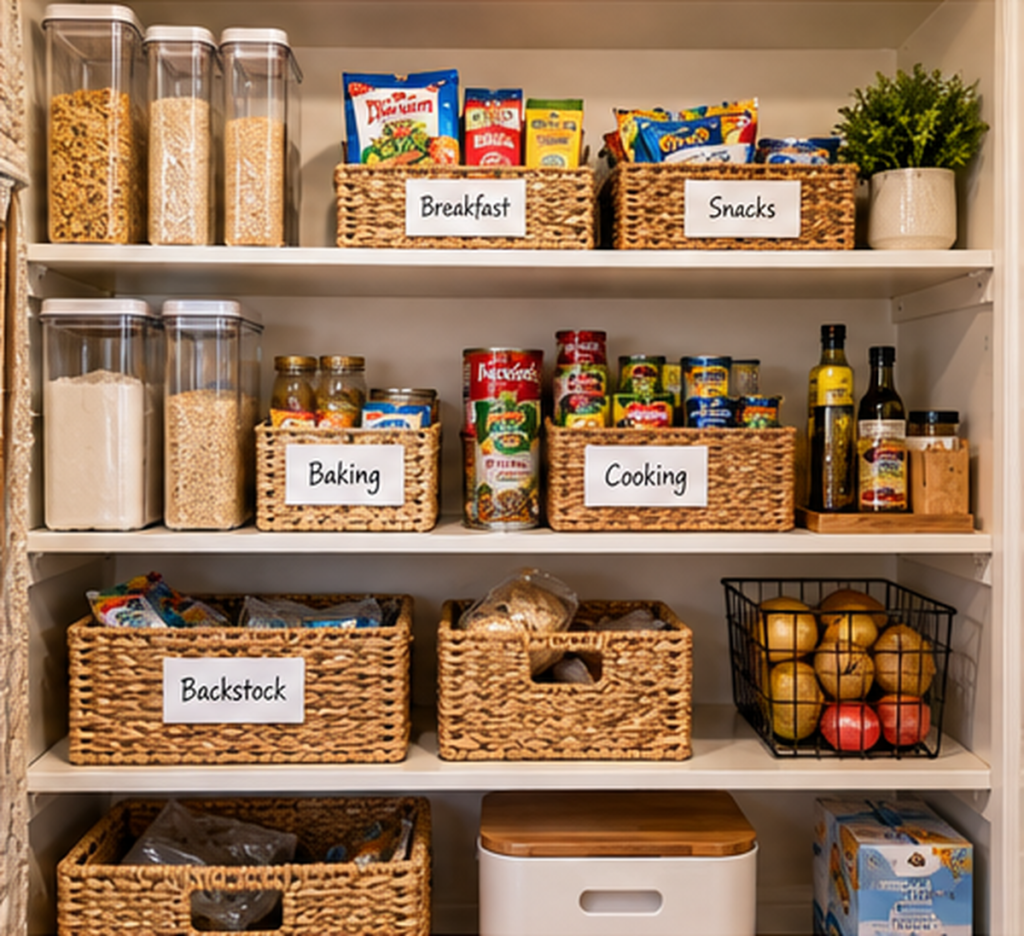
23. Return Everything to Simple Zones
By the end of the reset, each major category should have a basic home.
For example:
Shelf One
Breakfast and snacks
Shelf Two
Cooking ingredients and canned goods
Shelf Three
Baking and backstock
Lower Area
Heavy items and bulk supplies
Your exact layout will depend on the pantry.
Simple categories are easier to maintain than highly specific ones.
A 30 Minute Pantry Reset Schedule
If you want to keep the project short, use a timer.
Minutes 0–5: Remove Obvious Waste
Discard empty packages, expired food, and anything clearly no longer needed.
Minutes 5–10: Check Duplicates and Use First Foods
Combine open packages and move older food forward.
Minutes 10–20: Reset Shelves
Work through snacks, breakfast, cooking, baking, and canned foods one section at a time.
Minutes 20–25: Fix Storage Problems
Correct bin creep and improve access to deep shelves.
Minutes 25–30: Inventory and Finish
Make a short grocery list and return everything to its zone.
How Often Should You Reset Your Pantry?
A full reset does not need to happen every week.
For many households, once a month or every couple of months is enough.
A quick five-minute check can happen more often.
Good times include:
- Before grocery shopping
- Before meal planning
- During a seasonal reset
- When the pantry starts feeling crowded
- Before a large grocery trip
If you already use my Sunday reset checklist, you can include a very quick pantry check there and save the full reset for when it is actually needed.
Pantry Reset vs. Pantry Organization
A pantry organization project creates or changes the system.
A pantry reset restores the system.
Organization Project
You may:
- Measure shelves
- Choose bins
- Redesign categories
- Add risers
- Change shelf placement
Pantry Reset
You:
- Remove expired food
- Correct misplaced categories
- Combine duplicates
- Move older food forward
- Restore existing zones
If you have to redesign the pantry every month, the original organization system probably needs to change.
What Should You Not Buy During a Pantry Reset?
Avoid buying organizers simply because they look useful.
Be cautious with:
- Huge matching bin sets
- Containers that are too deep
- Specialty organizers for tiny categories
- Oversized turntables
- Containers that require constant decanting
Finish the pantry reset first.
The remaining problems will tell you what products, if any, you actually need.
How Do You Keep a Small Pantry Organized?
Keep the system simple.
A few habits make the biggest difference:
- Put groceries into their correct zones
- Check existing inventory before shopping
- Keep older foods visible
- Avoid excessive backstock
- Combine duplicates
- Keep bins category-specific
- Reset one shelf when it starts getting messy
You should not need a complicated maintenance routine.
Reset the Pantry You Already Have
A pantry reset does not require empty shelves, new containers, or an entire afternoon.
Most small pantries simply need their original system restored.
Remove what no longer belongs, bring categories back together, move older food forward, fix overflowing bins, and make sure the things you use most are easy to reach.
The best pantry reset leaves you with a clearer picture of what you already own and enough open space to put away the next round of groceries without starting the cycle all over again.